Replacing the brakes
Replacing disc brakes are one of those jobs that is easy enough for a shade tree mechanic to take on without too much concern. Yes, it's your brakes, but they are nearly the same on every car. They're just a much stronger version of your bicycle's brakes, but operated via hydraulics rather than a cable. [Cars like the Model A Ford did use a cable. Not fun.]
It had been years since I had my brakes worked on and now they were making grinding noises. This is a 'feature'; they tells you it is time. If you let them go far enough there will be a light on your dash to remind you that it is time. You can also look at the rotor and see the wear pattern. It should be smooth and shiny, but worn brakes will have ridges and uneven areas on the disc. My rears seemed to be the worst, so I went after them first.

The B8/8.5 use a very typical 'floating caliper' style. There is a mount that bolts to the suspension and holds the brake pads in place. Then there is a caliper that is bolted in using pins that can move around. The caliper mounts also have pins built in that the caliper slides side to side on to even out forces on the rotor when you apply the brakes. It's very important to ensure that the caliper mount pins are clean, smooth and well greased in order for the brakes to work well.
This same basic design shows up on cars from BMWs to VWs to Subarus with subtle variations.
Since the Audi has an electronic parking brake, you need to go into your code reader and put the parking brake into 'maintenance mode'. You will hear it retract the cable when that happens and there will be a button to click when the work is done to reset the parking brake. Aside from that, the operation is pretty standard and there are some really nice videos from folks like FCP Euro to help guide you along. (link below)
I'm writing this just as an addendum for when 'things go sideways', because sometimes they do. My passenger side brake came apart nicely and I was done in maybe 30 minutes including time spent cleaning, greasing the pins and chasing threads etc. The driver's side however was a nightmare because one of the bolts for the caliper carrier would not come loose. If I had a real lift I could probably have put a big breaker bar on it and probably never looked back, but I don't. And here we are.
I got the caliper off fine, removed the pads and then went after the large bolts that hold the caliper carrier to the upright. The first was tight, but I was able to get it moving. The second one however would not move. I tried heat, impact, longer wrenches, etc. Access is very limited and I could not drill it out because it is behind the brake rotor. It's a catch-22: you can't get the rotor off with the carrier in place, and I could not remove the carrier with the rotor in the way. I wound up grabbing my 5" die grinder and cutting a section out of the rotor in order to slide it out of the way. It took a long time because rotors are high carbon steel; they are very tough. Once the rotor was out of the way I was able to drill out the bolt without hurting the threads on the carrier.


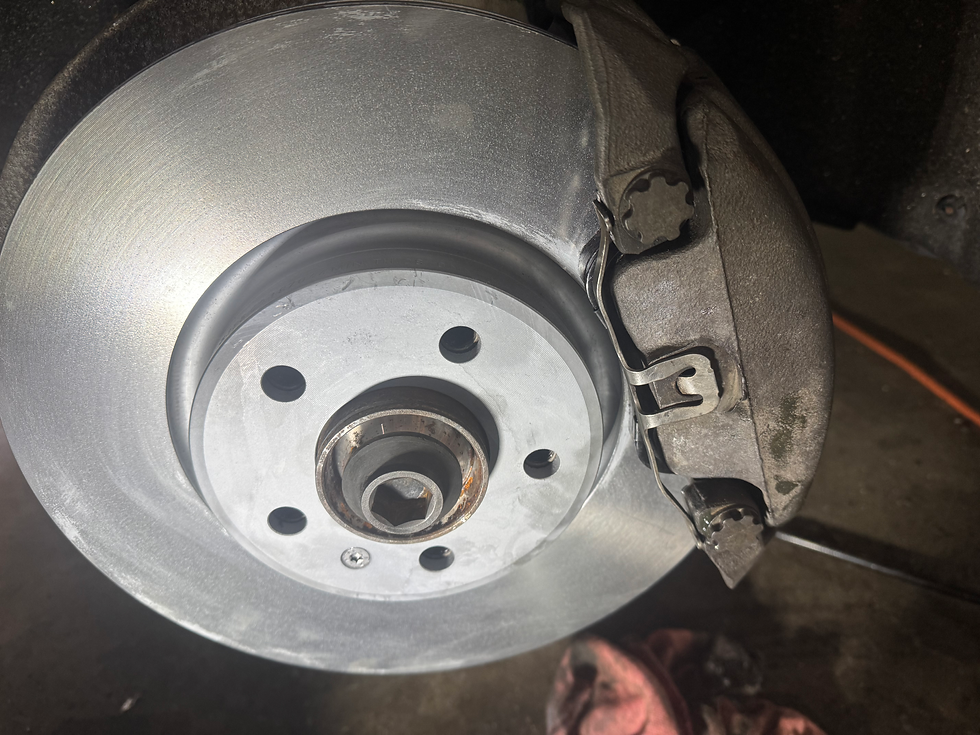
The fronts are essentially the same, with a few minor differences. I had to go back and replace the dust shields on both sides because they were falling apart and making noises.


Comments