top of page

Door seals and sill plates

  • joepampel
  • Jul 16
  • 2 min read

An easy fix, but one I was aprehensive about. I'm used to interior pieces being difficult to remove without either first removing other parts, or impossible to re-install due to the assembly order of operations. Luckily this job had neither issue.


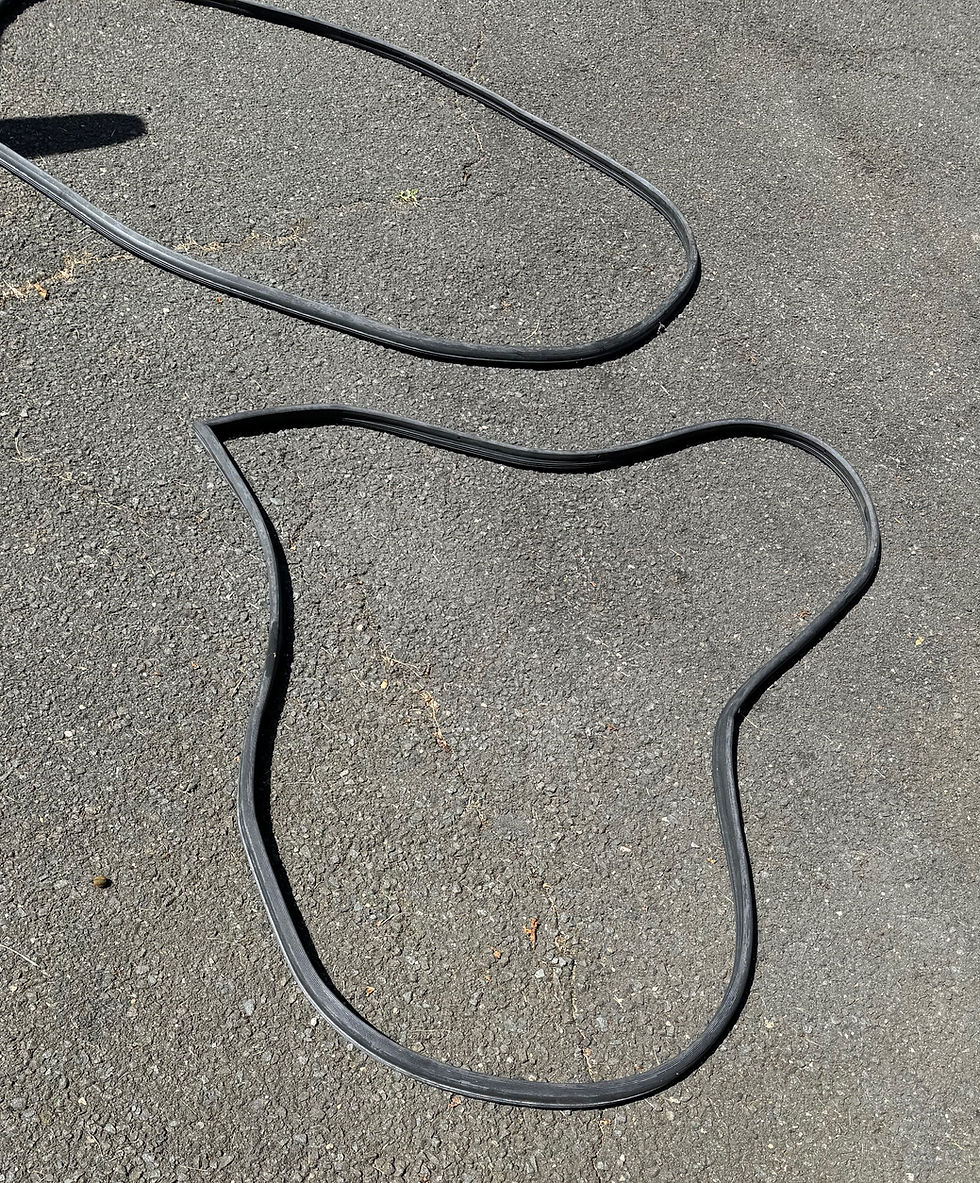
My door seals were already shredded when I got the car, and my sill plates were ugly and too short.

Probably not uncommon, the door seal is pretty ripped up. There was some mild bodywork done on the door and a re-spray of the rear quarter so perhaps the sill plate and seal got beat up during that work.
The sill plate is obviously too short - it should go all the way to the seam, and it appears to have been crudely cut.

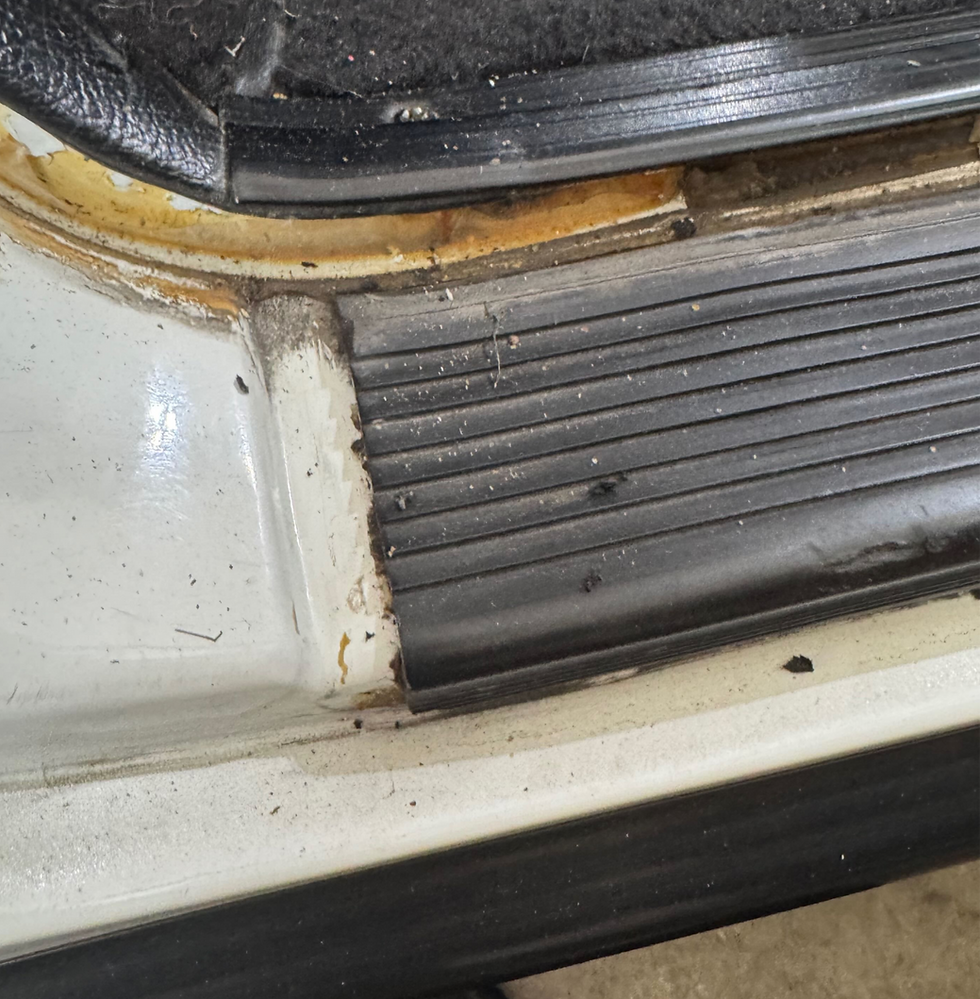
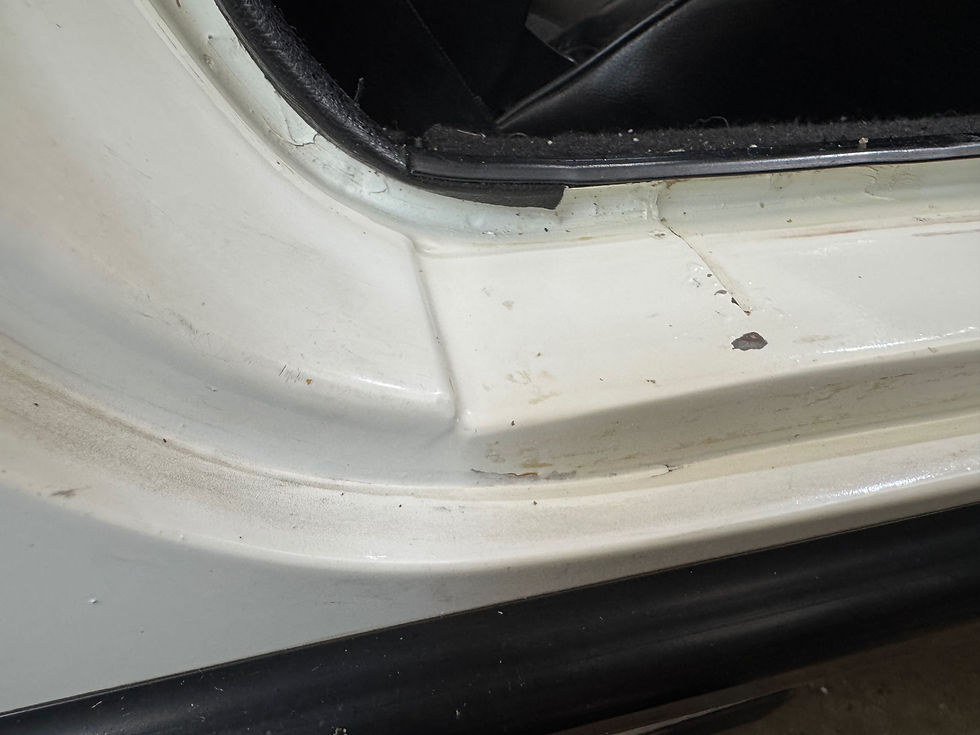
The old seal had been glued in with yellow trim adhesive (as above) which pulled out easily by hand - except for one spot where someone added some black trim adhesive. That was the only area that was difficult to work with and clean up.

There was some poor work done on this window at some point, and it looks like rather than deal with it properly they slopped in a bunch of glue. Thanks a lot, guys.
plastic scrapers, a toothbrush, some rags and 3M adhesive remove got the old junk off.
The sill plate had a lot of glue underneath it to remove. It took a while.
Once the old glue was off I could install the sill plate and door seal.

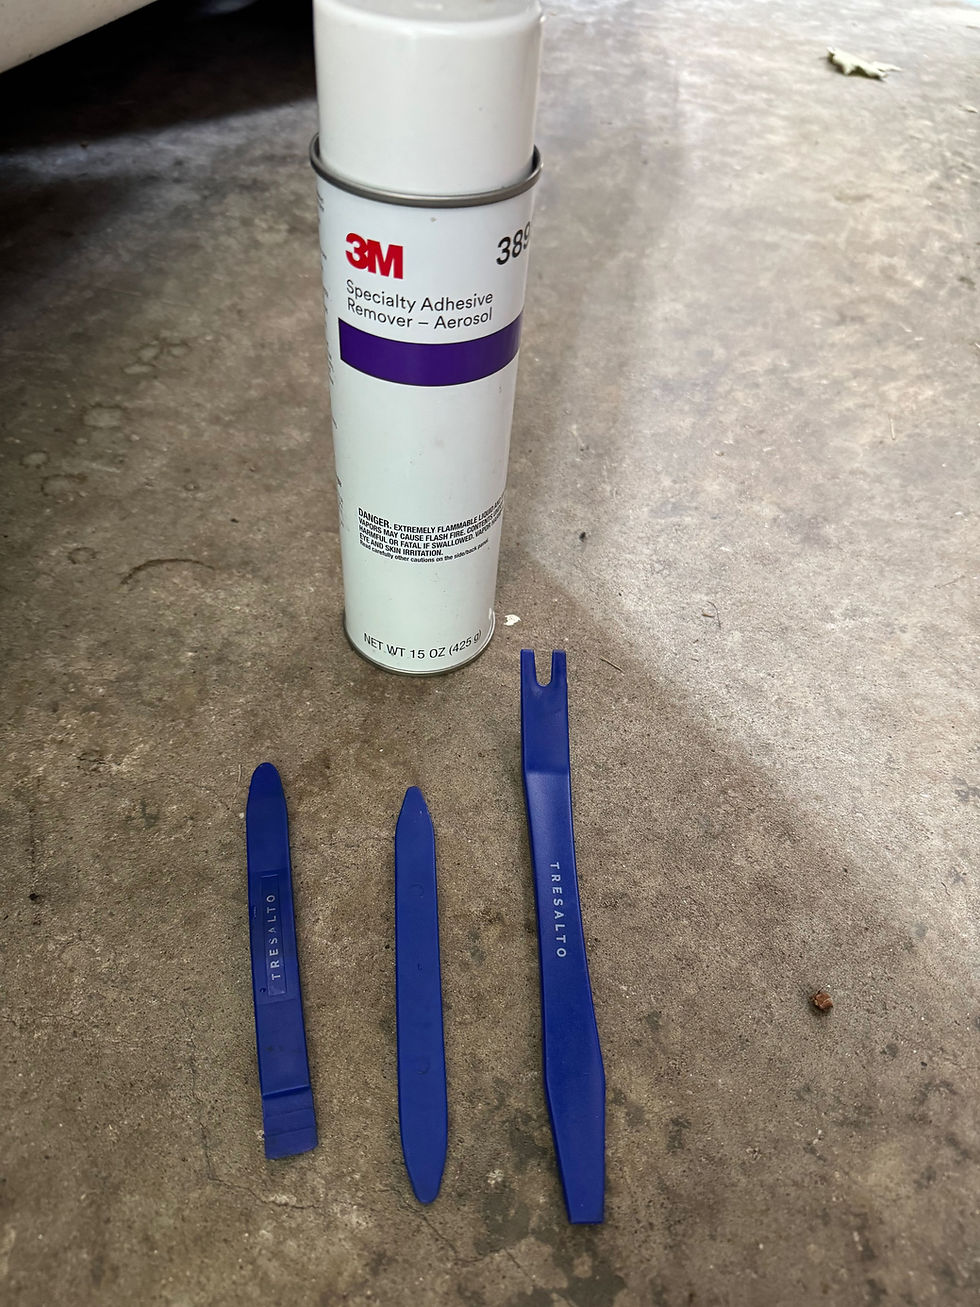
The CW on the boards is that you don't need to use glue on the door seals; they sit in a channel and their shape is such that they stay in very well. I went with that approach and have had no issues. Just make sure the ribbed side is facing out. The seals can go in 2 different ways - you'll know if it's wrong because it wont stay in its channel. (I tested this out, cough) You can certainly work with the yellow adhesive and paint it into the channel if you like. I installed the seals by starting at the corner at the top rear most corner of the door. It's a natural place to locate the seal and then start working your way around. I would recommend going in both directions, a section at a time. The seal can stretch as you go and going evenly can help minimize this. I used a flat trim tool or my fingers to tuck it into the channel. It's not precise work, you just need to stuff it in.

I left the new seals out in the hot sun while I was busy cleaning up the door frames. This just helped make sure that the rubber was soft and pliable.
If you can, install the new sill plate first.  They need to mount flush against the sill, and their adhesive strips are very sticky.  You can see the ribs in the seal here as well.
If you can, install the new sill plate first. They need to mount flush against the sill, and their adhesive strips are very sticky. You can see the ribs in the seal here as well.
ree

A much better experience entering the car now.

Comments

Rated 0 out of 5 stars.
No ratings yet

Add a rating
Post: Blog2_Post
bottom of page